

Hey there, fellow pet lovers! As a custom pet bow supplier, I'm super excited to share the process of making these adorable custom pet bows with you. Whether you're a pet owner looking to spruce up your furry friend or a pet store owner interested in stocking unique items, understanding how these bows are made can give you a whole new appreciation for them.
Step 1: Design and Concept
The first step in making a custom pet bow is coming up with a design. This is where the creativity really kicks in! We start by having a chat with our customers to understand their vision. Some folks want a simple, classic bow in their pet's favorite color, while others have more elaborate ideas, like bows with their pet's name or a special pattern.
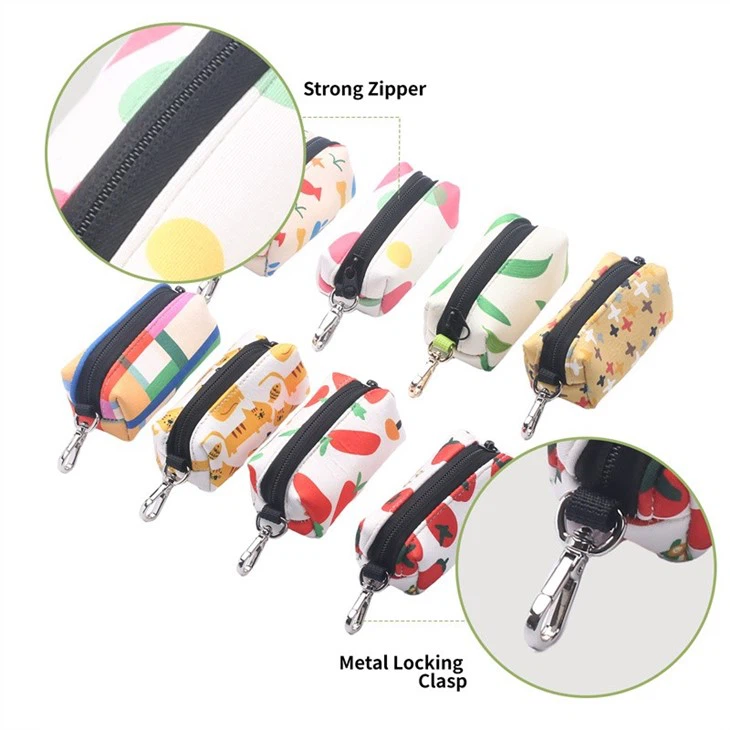
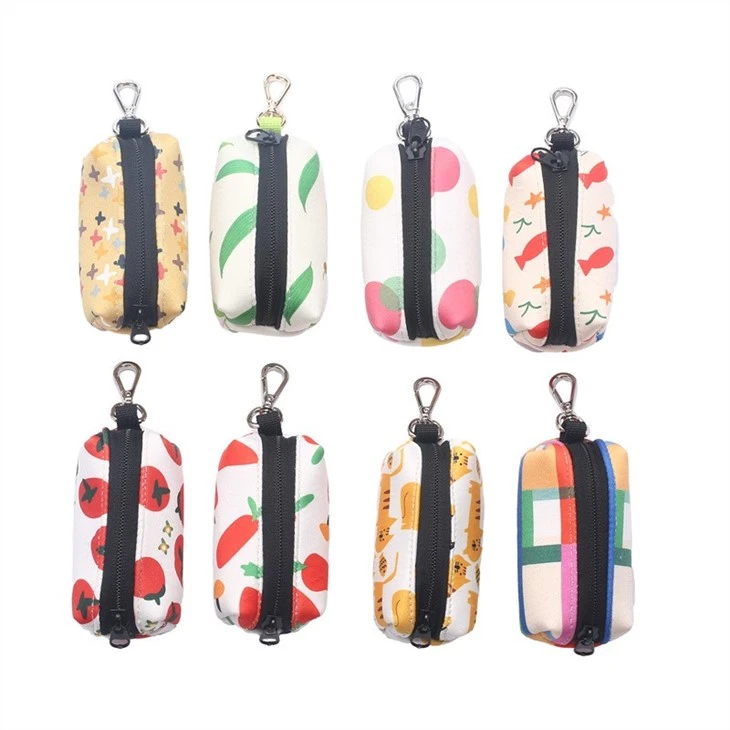
We use a combination of traditional design techniques and modern software to bring these ideas to life. Sketching on paper helps us get the basic shape and layout right, and then we move to digital design tools to add details, colors, and any custom elements. For example, if a customer wants a bow with a paw print pattern, we can find high - quality paw print images and incorporate them into the design.
Step 2: Material Selection
Once the design is finalized, it's time to choose the right materials. The quality of the materials we use is super important because it affects not only the look but also the durability of the pet bow.
We usually work with a variety of fabrics, including satin, silk, and grosgrain ribbon. Satin gives a luxurious and shiny look, perfect for special occasions. Silk is soft and elegant, making it great for pampered pets. Grosgrain ribbon, on the other hand, is more durable and has a ribbed texture, which is ideal for everyday use.
In addition to the ribbon, we also select the right hardware. This includes things like clips, which are used to attach the bow to the pet's collar. We make sure the clips are strong enough to hold the bow in place but also gentle on the pet's fur. And for bows that are meant to be tied, we use high - quality thread that matches the color of the ribbon.
Step 3: Cutting the Ribbon
Now that we have the materials, it's time to cut the ribbon. We use sharp scissors or a precision cutting machine to get clean and accurate cuts. The length and width of the ribbon depend on the design of the bow. For a simple single - loop bow, we might cut a shorter piece of ribbon, while a multi - loop or a larger bow will require a longer length.
We also pay attention to the edges of the ribbon. To prevent fraying, we use a heat - sealing method. This involves quickly passing the cut edge of the ribbon over a flame or using a heat - sealing tool. It melts the edge slightly, creating a smooth and sealed finish.
Step 4: Bow Assembly
This is the fun part where the bow starts to take shape! First, we form the loops of the bow. For a classic bow, we make two or more loops and then a center section. We use a small piece of thread or a thin wire to secure the center of the loops together.
If the bow has multiple layers or different colors of ribbon, we carefully layer them on top of each other before securing them. We also add any embellishments at this stage. For example, if the design includes a small charm or a rhinestone, we attach it to the center of the bow using glue or a small fastener.
Step 5: Adding the Hardware
After the bow is assembled, it's time to add the hardware. If it's a clip - on bow, we attach the clip to the back of the bow. We make sure it's firmly attached so that it won't come off easily when the pet is moving around.
For bows that are meant to be tied, we might add a small piece of elastic or a loop of ribbon at the back to make it easier to tie around the pet's collar. We test the hardware to make sure it functions properly and is safe for the pet.
Step 6: Quality Control
Before the custom pet bow is ready to be shipped out, we go through a strict quality control process. We check the bow for any loose threads, uneven loops, or damaged hardware. We also make sure that the colors are consistent with the design and that the overall appearance meets our high standards.
If we find any issues, we fix them right away. This might involve re - sewing a loose part, adjusting the position of an embellishment, or replacing a faulty clip. We want every custom pet bow that leaves our workshop to be perfect.
Step 7: Packaging
Once the bow has passed the quality control check, we package it carefully. We use clear plastic bags or small boxes to protect the bow during shipping. We also add a tag with the design details and any care instructions.
Now, you might be thinking about all the other great pet accessories out there. We also have some awesome products like Dog Tie Out Cable And Stake, which is perfect for giving your dog some outdoor freedom while keeping them safe. And if you're concerned about cleaning up after your pet, check out our Customized Pet Garbage Bag and Printed Custom Garbage Bag.
If you're interested in purchasing our custom pet bows or any of our other pet accessories, we'd love to hear from you. Whether you're a pet owner looking for a one - of - a - kind bow for your furry friend or a business owner wanting to stock our products, we're here to help. Just reach out to us, and we can start discussing your custom order.
References
- "Pet Accessories Handbook" - A collection of industry knowledge on various pet products.
- "Fabric and Hardware Guide for Pet Crafts" - A resource for understanding different materials used in pet accessory making.